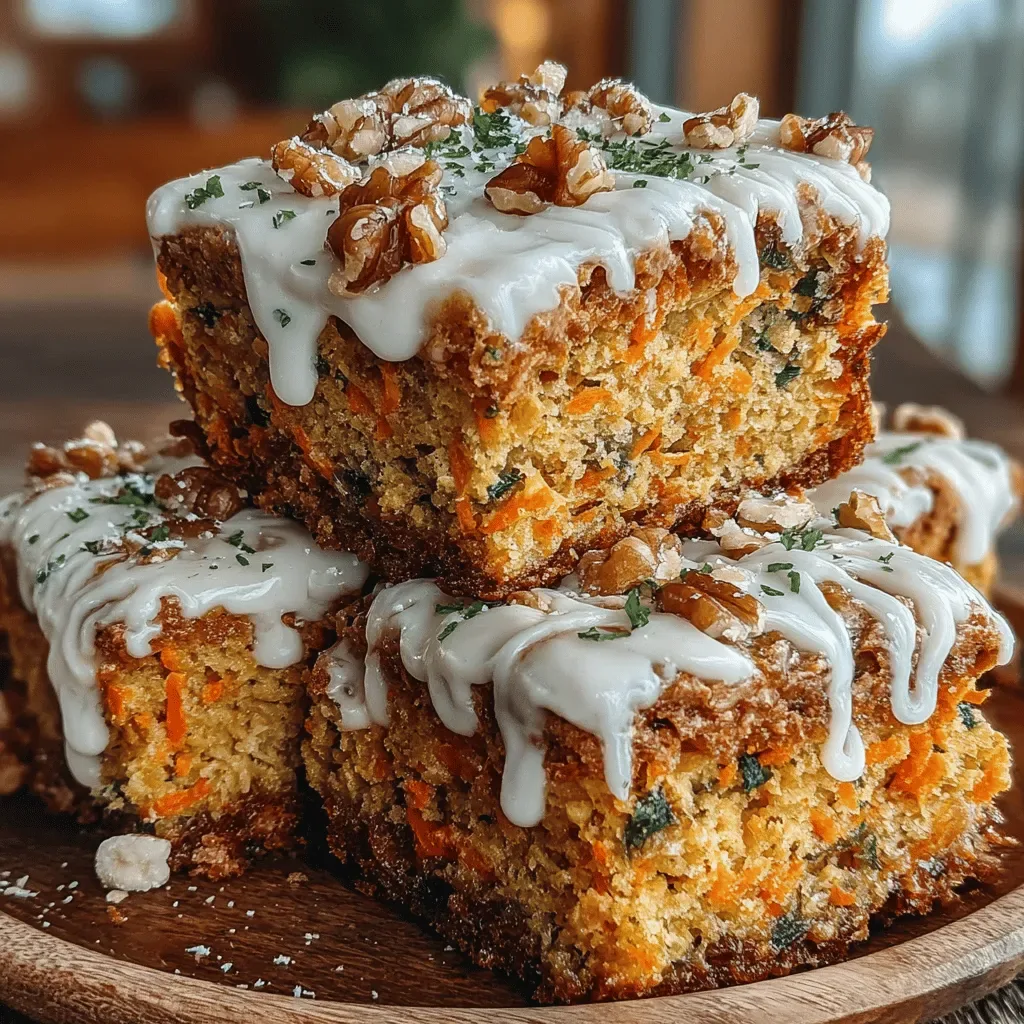
Imagine a dessert that feels indulgent yet whispers health‑forward goodness—creamy peanut butter frozen yogurt cups. This treat captures the nostalgic comfort of a peanut‑butter swirl while keeping the tangy brightness of real yogurt, making it perfect for any season.
What sets this recipe apart is the silky balance of sweet and salty, the natural creaminess of Greek yogurt, and the way the peanut butter ribbons through each bite without overwhelming the palate.
Kids, athletes, and anyone craving a guilt‑free sweet will adore these cups, whether served after dinner, at a backyard barbecue, or as a refreshing snack on a hot afternoon.
The process is straightforward: blend the yogurt, sweeten it, swirl in a peanut‑butter mixture, pour into individual molds, and let the freezer do the heavy lifting. Minimal equipment, maximum flavor.
Why You'll Love This Recipe
Protein‑Packed Delight: Greek yogurt supplies a hefty dose of protein, keeping you satisfied longer while supporting muscle recovery after workouts.
Simple Swirl Technique: The peanut‑butter ribbon forms with just a spoon, creating a professional‑looking dessert without any fancy equipment.
Customizable Sweetness: Adjust the honey or maple syrup to suit your taste, making it perfect for those who prefer a milder or more decadent flavor.
Portion‑Ready Cups: Individual molds eliminate guesswork, help control serving sizes, and make it easy to grab a snack on the go.
Ingredients
The success of these frozen yogurt cups hinges on a handful of high‑quality staples. Thick, plain Greek yogurt provides a rich, velvety base while keeping the dessert lower in fat than traditional ice cream. Natural sweeteners like honey or maple syrup add just enough sweetness without masking the yogurt’s tang. Creamy, unsweetened peanut butter creates the signature swirl, and a splash of vanilla deepens the flavor profile. Finally, a pinch of sea salt elevates the sweet‑salty balance, and optional toppings such as toasted peanuts or dark‑chocolate chips add crunch and visual appeal.
Base Yogurt Mix
- 2 cups plain Greek yogurt (full‑fat or 2%)
- 1/4 cup honey or pure maple syrup
- 1 teaspoon pure vanilla extract
- Pinch of sea salt
Peanut Butter Swirl
- 1/2 cup natural unsweetened peanut butter
- 2 tablespoons coconut oil (melted)
- 1 tablespoon honey (optional, for extra sweetness)
Toppings (Optional)
- 2 tablespoons toasted chopped peanuts
- 1/4 cup dark‑chocolate chips
- Fresh berries for garnish (optional)
These ingredients work together to create a dessert that feels indulgent yet stays on the lighter side. The yogurt’s natural tang balances the rich peanut butter, while the honey provides a gentle sweetness that lets the natural flavors shine. The optional toppings add texture and visual interest, turning each cup into a miniature work of art.
Step-by-Step Instructions

Preparing the Yogurt Base
In a large mixing bowl, whisk together the Greek yogurt, honey (or maple syrup), vanilla extract, and a pinch of sea salt. Whisk until the mixture is smooth and the sweetener is fully dissolved. This ensures an even texture and prevents icy crystals when frozen.
Making the Peanut Butter Swirl
Combine the unsweetened peanut butter with the melted coconut oil in a small bowl. Stir in the optional honey if you prefer a sweeter swirl. The oil softens the peanut butter, making it pourable yet still thick enough to hold its shape during freezing.
Assembling the Cups
- Layer the Yogurt. Spoon about 2‑3 tablespoons of the yogurt mixture into each silicone muffin cup, filling them roughly one‑third of the way. This creates a base for the swirl to sit on.
- Add Peanut Butter. Drop a small dollop (about 1 teaspoon) of the peanut‑butter mixture onto the yogurt layer. Use a thin skewer or the tip of a spoon to gently swirl the peanut butter through the yogurt, creating a marbled effect.
- Top with More Yogurt. Fill the rest of each cup with the remaining yogurt, smoothing the surface with the back of a spoon. The yogurt should cover the peanut‑butter swirl completely, sealing it inside.
- Optional Toppings. Sprinkle toasted peanuts, chocolate chips, or fresh berries on top of each cup for added texture and visual appeal.
Freezing & Serving
Place the filled silicone cups on a baking sheet and transfer to the freezer. Freeze for at least 4‑6 hours, or until solid. To serve, briefly dip the cups in warm water for 5‑10 seconds to loosen them, then pop them out onto a plate. Enjoy immediately, or let them sit at room temperature for 2‑3 minutes for a softer bite.
Tips & Tricks
Perfecting the Recipe
Chill the Yogurt First. Refrigerate the yogurt mixture for 15‑20 minutes before assembling. A colder base reduces the risk of ice crystals forming during the freeze.
Use Silicone Molds. Silicone cups release easily and prevent cracks that can happen with rigid plastic molds.
Don’t Over‑Swirl. A gentle swirl keeps the peanut butter visible and prevents it from blending completely into the yogurt.
Flavor Enhancements
Add a dash of cinnamon or a splash of almond extract to the yogurt base for a warm undertone. For a salty‑sweet twist, sprinkle a pinch of flaky sea salt over the top just before freezing.
Common Mistakes to Avoid
Avoid using low‑fat yogurt that contains added stabilizers; it can become icy. Also, don’t forget to melt the coconut oil fully—cold oil creates streaks in the peanut‑butter swirl.
Pro Tips
Freeze in a Single Layer. Keeping the cups on a flat tray ensures even freezing and prevents the tops from developing a hard crust.
Blend for Extra Creaminess. For an ultra‑smooth texture, blend the yogurt mixture in a food processor for 30 seconds before filling the cups.
Store in a Freezer‑Safe Container. After the initial freeze, transfer the cups to a zip‑top freezer bag to protect them from freezer burn.
Variations
Ingredient Swaps
Replace Greek yogurt with coconut‑milk yogurt for a dairy‑free version, or use almond butter instead of peanut butter for a milder nutty flavor. Swap honey with agave nectar to keep the dessert vegan while maintaining sweetness.
Dietary Adjustments
For a low‑sugar option, use a sugar‑free sweetener like erythritol and reduce the amount of honey. Those following a keto plan can increase the coconut oil in the swirl and use a sugar‑free chocolate chip topping.
Serving Suggestions
Serve the cups alongside fresh fruit salad for extra brightness, or drizzle a little dark‑chocolate ganache over the top just before serving. Pair with a cold glass of almond milk for a balanced snack.
Storage Info
Leftover Storage
Allow the cups to soften for a few minutes at room temperature, then place them in an airtight freezer‑safe container. They keep well for up to 3 months. For best texture, store them in a single layer rather than stacked.
Reheating Instructions
If you prefer a softer, ice‑cream‑like consistency, let a cup sit at room temperature for 5‑7 minutes before serving. Alternatively, microwave a single cup on low (30‑40 % power) for 20‑30 seconds, stirring gently, to achieve a melt‑in‑your‑mouth texture.
Frequently Asked Questions
This creamy peanut butter frozen yogurt cup recipe delivers a perfect blend of protein, flavor, and visual appeal with minimal effort. You now have a complete guide—from ingredient selection and step‑by‑step assembly to storage tricks and creative variations. Feel free to experiment with nut‑butter swaps or topping ideas; the canvas is yours. Serve them chilled, share with friends, and enjoy every velvety bite!